wave-scan OrangePeel Meter
wave-scan 3 dual
Orange peel meter for high to semi gloss finishes
wave-scan 3
Orange peel meter for high gloss finishes
micro-wave-scan 3
Orange peel meter for small parts
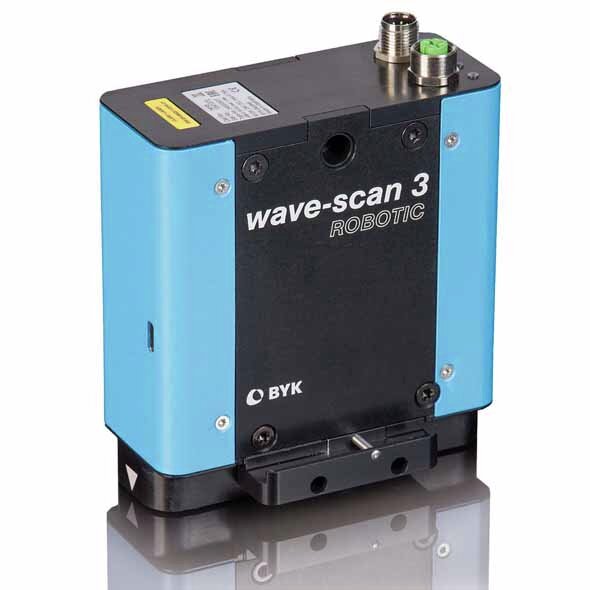
wave-scan 3 ROBOTIC
Orange Peel Meter for Automation
wave-scan: The Objective Eye for a Brilliant Finish
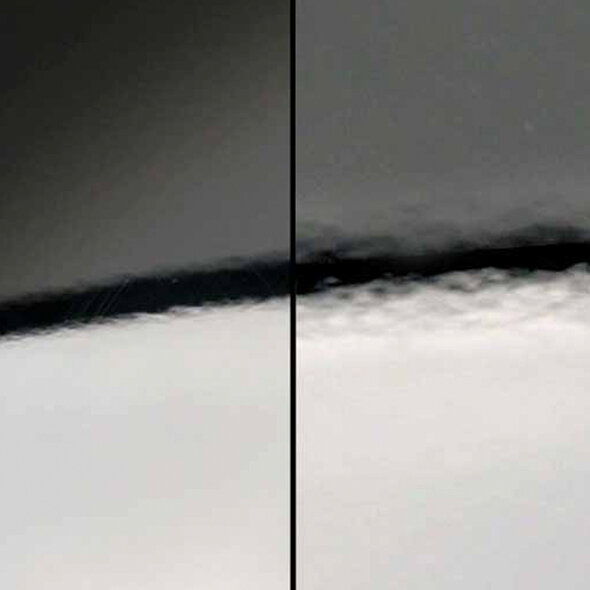
What causes orange peel?
Surface appearance changes with the size and distinctness of wavy structures. The wave-scan analyzes waviness intensity with 5 wavelength ranges (0.1 mm - 30 mm) and evaluates the brilliance of the surface. The results form a “structure spectrum" and help you to analyze and optimize the surface quality based on material and / or process parameters.
From substrate to top coat, from film thickness to levelling - wave-scan is your diagnostic and QC tool at the same time to keep the process under control.
Next generation for orange peel measurement
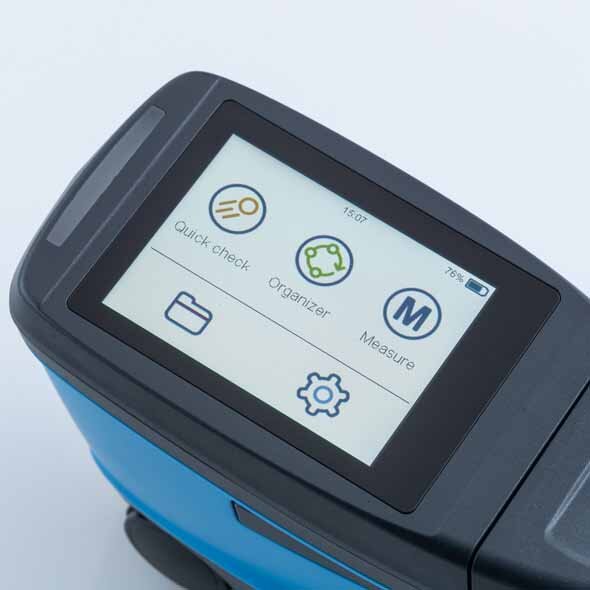
The new wave-scan 3 family comes with a fresh design to accommodate an extra-large color touch display. Operation and feel is as intuitive as you are used to with your smart-phone. Capacitive display technology provides a state-of-the-art haptic touch.
The fastest chip ever calculates complex waviness scales in no time at all, speeds up the measuring time and lets you do more in the same time.
High correlation to the visual perception and excellent agreement with previous wave-scan models.

Intuitive navigation for easy paint orange peel QC
- The new design also comes with a new intuitive menu navigation.
- Quick check: Just measure without saving.
- Measure: Use standards with scales and statistics defined in the instrument or in smart-chart even including the limits for Pass/Fail display.
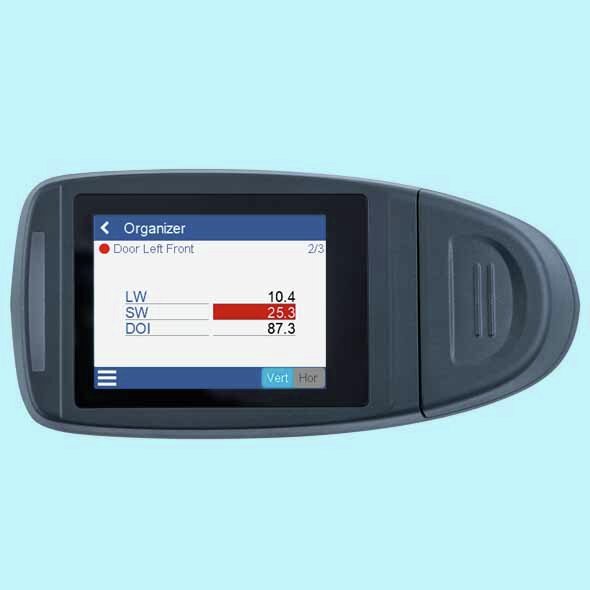
- Organizer: Select a customized sampling procedure with standard colors and limits to measure a car body
- For the first time the data can be displayed for Pass/Fail judgement in color. The limits are defined in the standard management with smart-chart by color.
wave-scan is always ready
- The charging takes place in the newly designed docking station – Park and charge at the same time.
- The long battery life optimizes the usage time, so you can measure many cars in the line or in the field.
- Transfer your measuring data via docking station or directly connect with USB - cable. Optionally, wireless data transfer with Wi-Fi function can be activated on request.
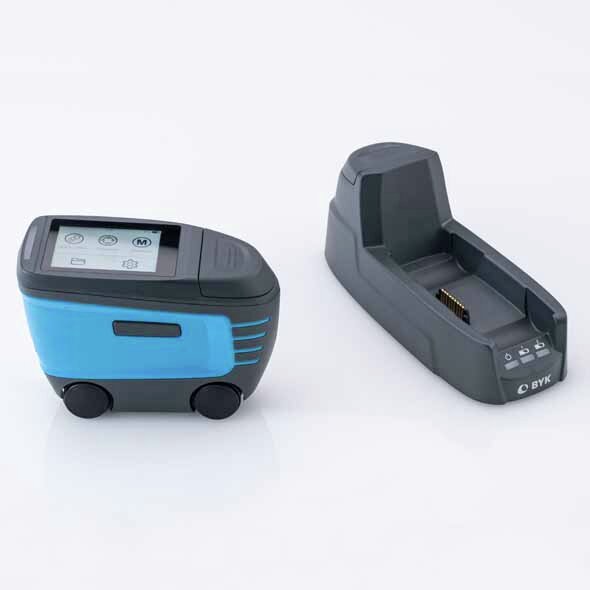
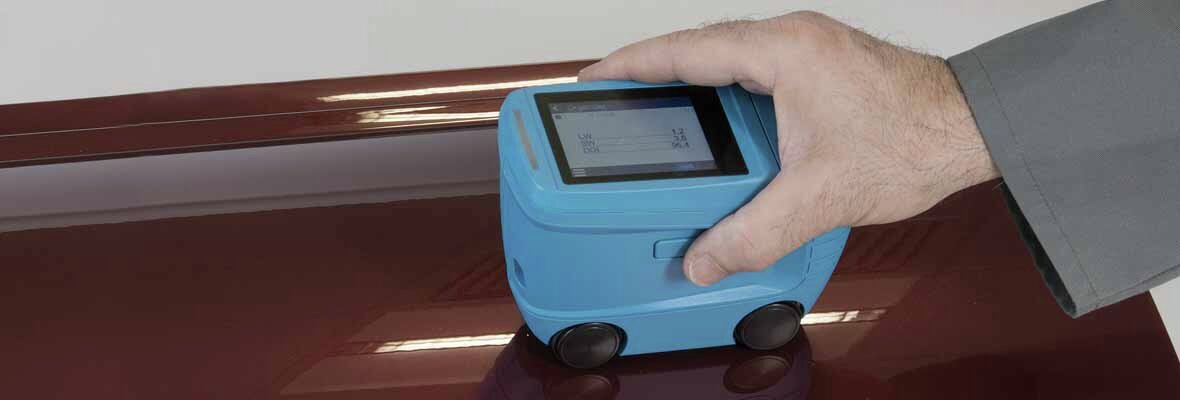
wave-scan 3 for orange peel and DOI
measurement of high gloss topcoat finishes
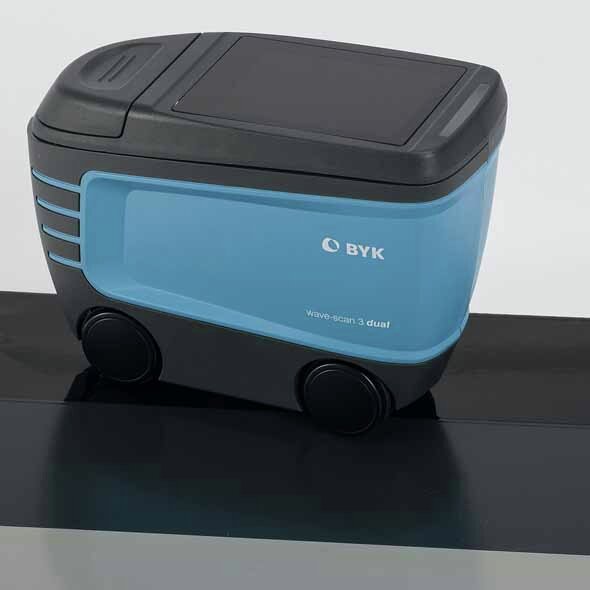
Measure paint orange peel on high and semi gloss surfaces
Appearance control is no longer limited to final topcoat inspection. Thus, the surface quality after each paint process step can be objectively evaluated.
No more guessing which substrate layer is influencing the final appearance. The wave-scan dual will help you to objectively analyze appearance problems and reduce the time necessary for trouble shooting.
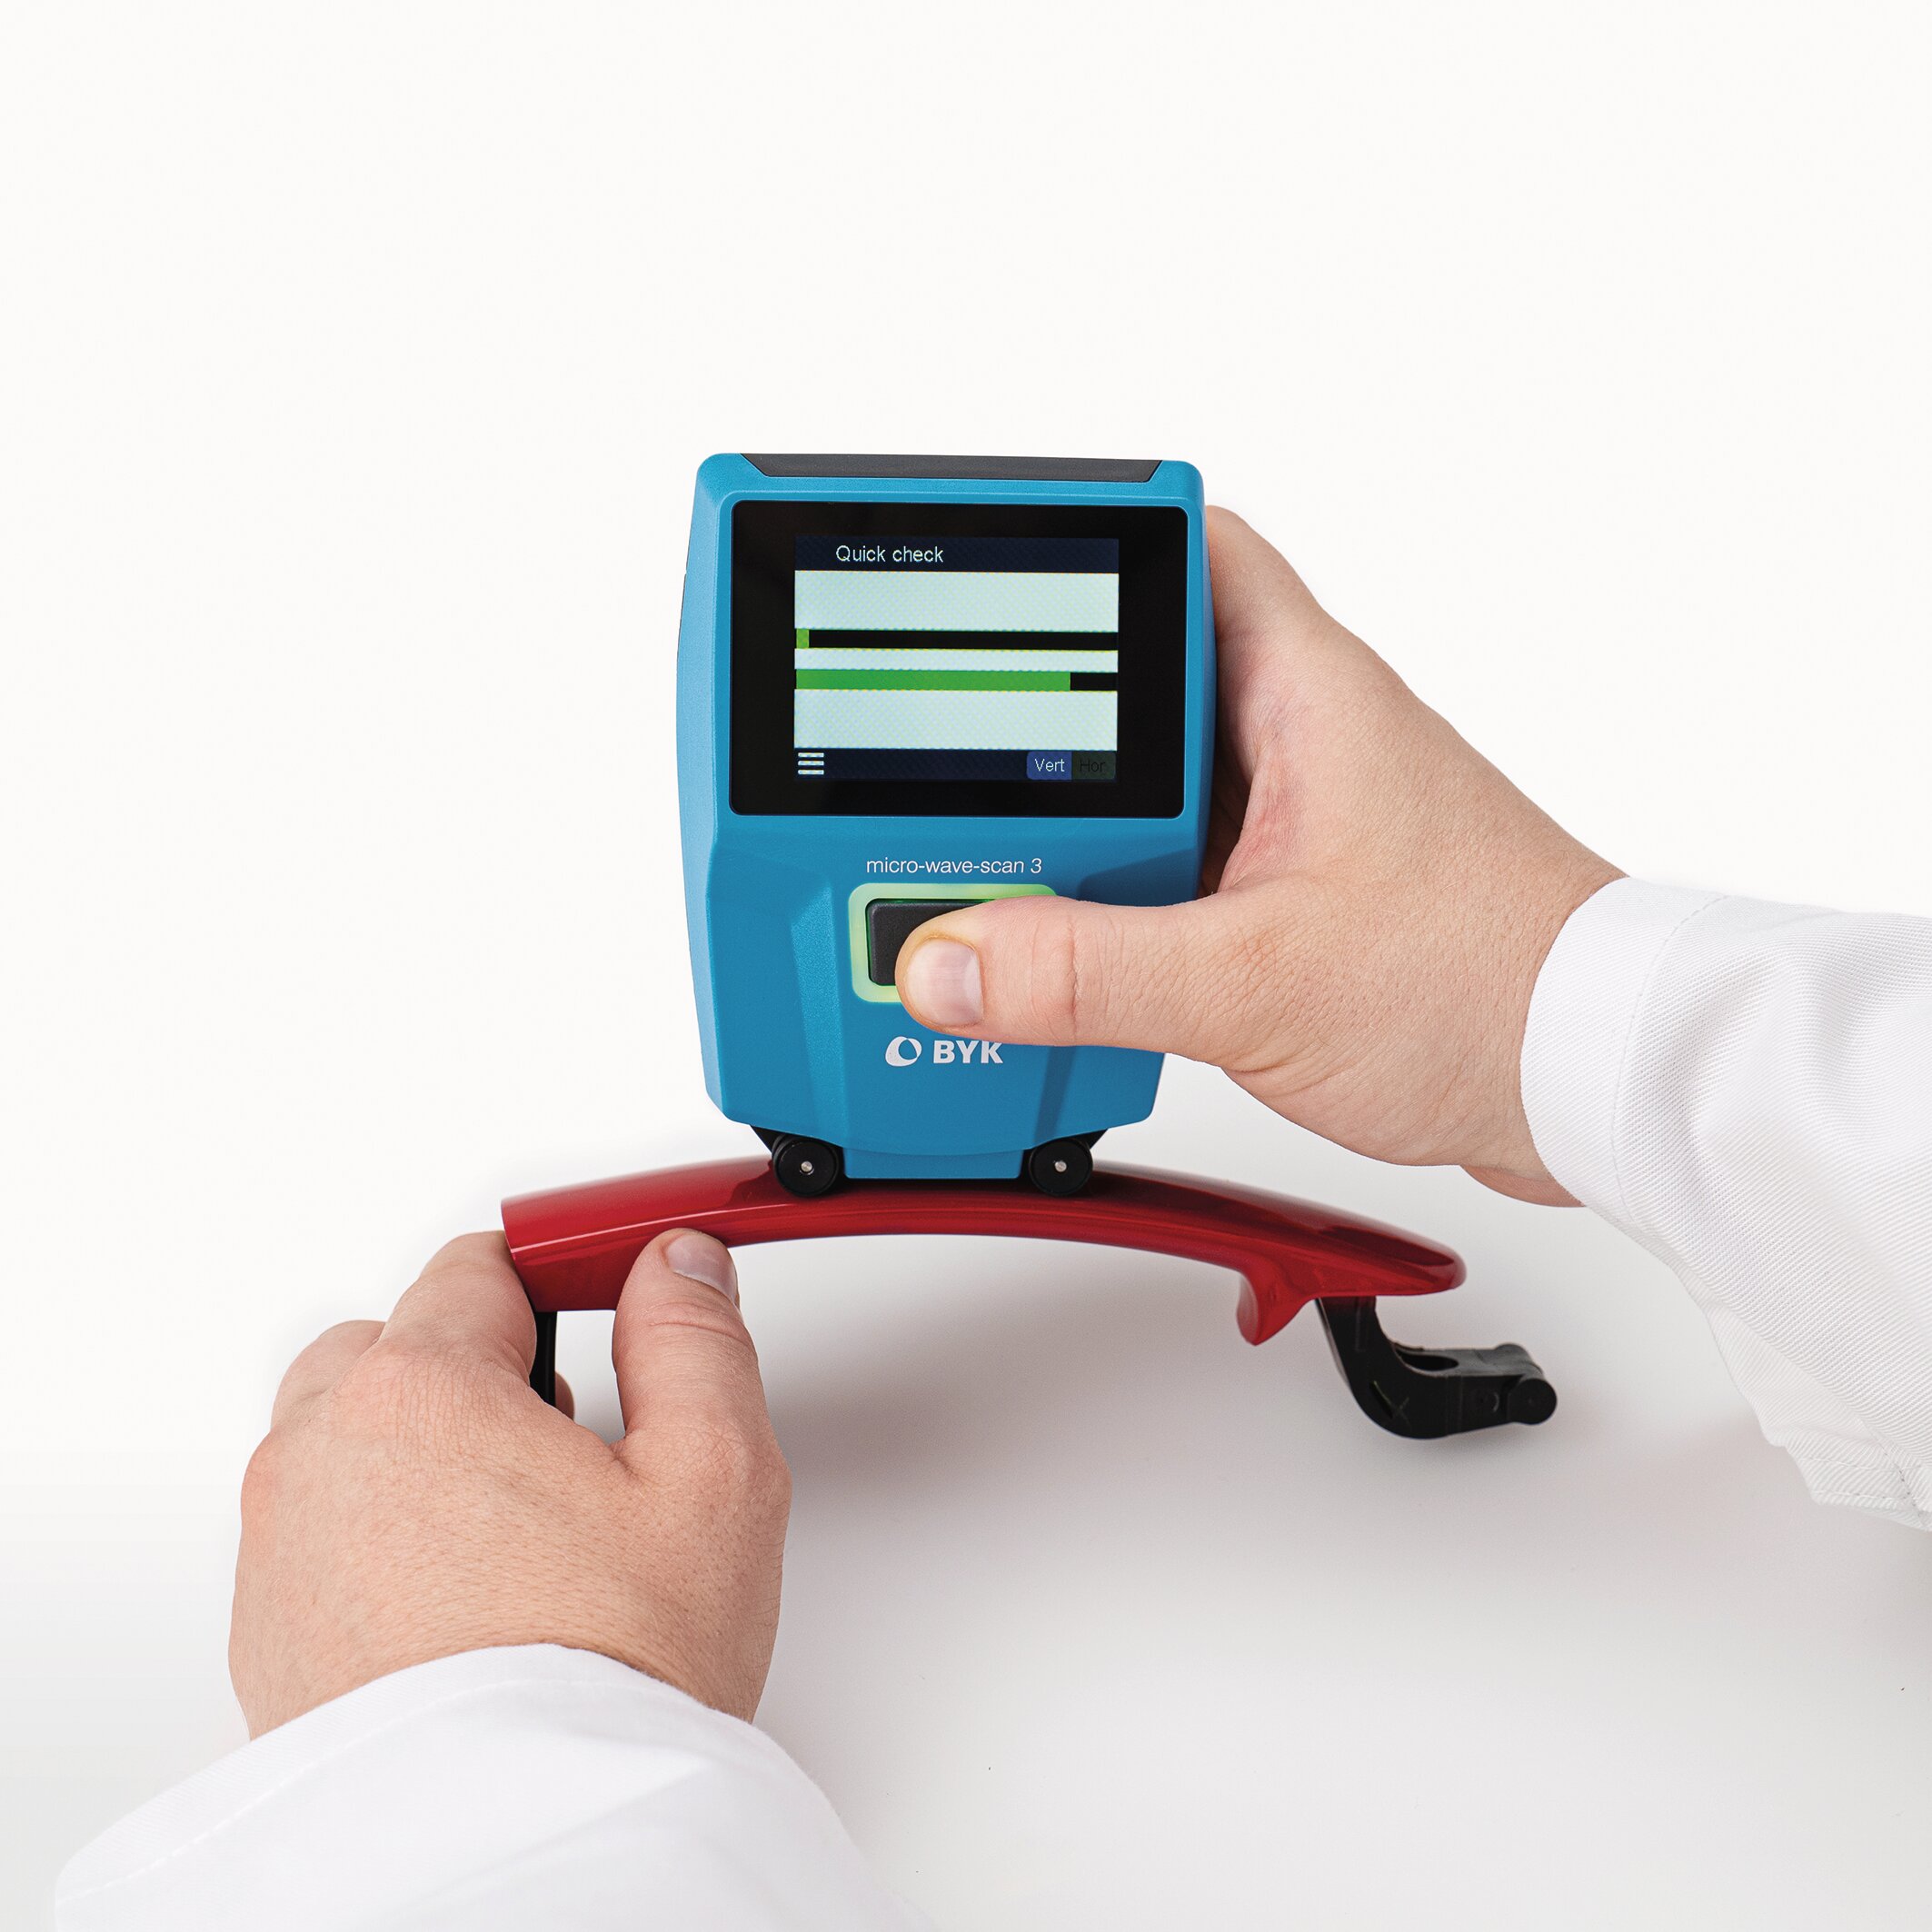
Orange peel & DOI measurement of small and curved parts
Now you can objectively evaluate Orange Peel and DOI on very curved components or small add-on parts - like fuel doors, mirror housings, door handles, decorative trim or motorcycle parts. DOI measurement is also possible without scanning the surface.
Like it's big brother it comes with a docking station for recharging and data transfer to smart-chart allowing professional analysis, documentation and data management.
micro-wave-scan fits in the palm of your hand: small, light weight and is easy to use.
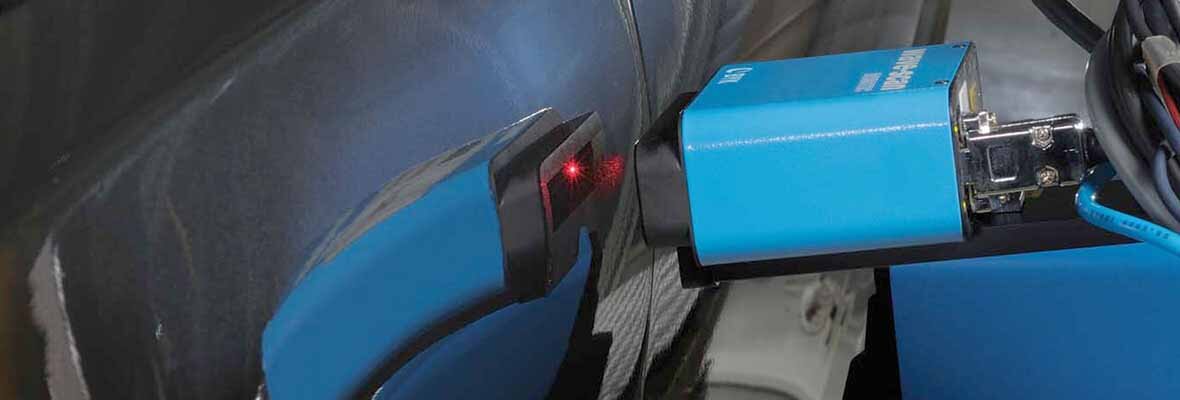
NEW: wave-scan 3 Robotic - Industry 4.0 in your paint shop
The new Generation: with high speed computing, LAN and new interface program
A stable running process is the key for uniform and consistent quality. The wave-scan 3 ROBOTIC allows automated appearance control as it is mounted on a robotic arm and measures without touching the surface.
The robotic system ensures measurement on the same area and sampling a high number of measured car bodies. Thus, representative QC data is collected and can be used to analyze the appearance influencing parameters by connecting material and process parameters to enable leading edge analysis methods with AI algorithms. Close the loop with wave-scan 3 ROBOTIC
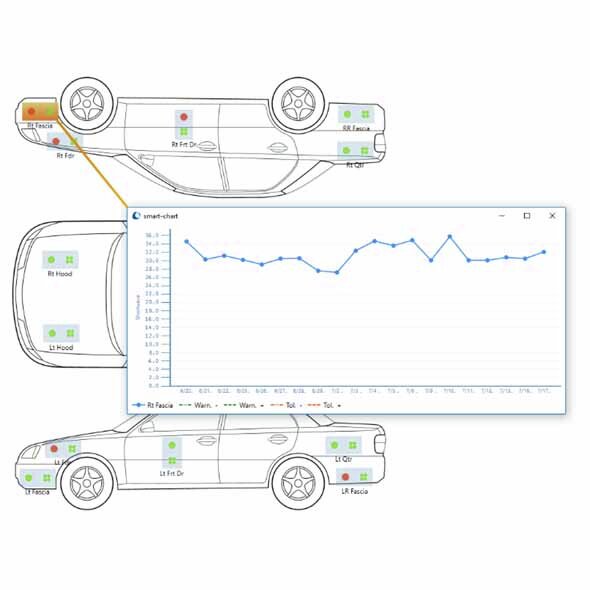
What causes orange peel - how to perform standardized process monitoring: smart-chart gives you the answer
smart-chart includes powerful standard management for defining all essential appearance parameters with Pass/Fail tolerances. Its "Organizer" set-up enables clear sample identification and a menu guided operation on the instrument. From single test series to trend reports over time or special charts for trouble shooting - smart-chart is your global tool for process stability.
Now with many NEW functions:
- Drill-in on any data point and the history of the last 20 readings will be displayed
- Dynamic print layout to create your own reports
